
The following was written in 2012 by Andy Sivell, and published in his 'Diary of a Nervous Beekeeper' that same year. Although the prices may have changed slightly (and Maplin, sadly, has gone the way of so many high street retailers), both the subject matter and his advice remains as relevant today as it was then, and I'm therefore republishing it – with his permission – in its original format.
One of the joys for someone like me, who’s not very technical, is being told by builders, electricians and assorted handymen how easy it is to do something I find utterly baffling. Need to fix that leaking gutter? “Well, what you want to do is…” they start, before rabbiting on about soffits, fascias and rafters, but without really telling me what they are, where to buy them, or how one bit fits to the next.

I’m now going to add ‘building a honey warming cabinet’ to that category, because if I had a pound for every textbook, magazine article and website forum I read that talked about processing solidified honey in the same breath as remarking that, “you can easily convert an old fridge into a honey warming cabinet” – without explaining how – then I could have saved myself the trouble and bought one from Thornes.
How?! How do you convert a fridge into a honey warming cabinet? How do you ensure that it’s not leaking CFC gasses? How do you know whether it’s safe to drill holes through the sides? How do you wire it? How do you do prevent it from overheating? What I wanted was an idiot-proof guide.
But there wasn’t one.
That is, until now, ladies and gentlemen. I hereby present ‘The Nervous Beekeeper’s if-you’re-not-technical-you’re-in-good-company, Complete Beginner’s Guide to Building a Honey Warming Cabinet from an Old Refrigerator’. It may not be funny, but by golly it’s comprehensive. I’ve assumed that you can wire a plug, but not much else. Oh, and although I actually did everything described here myself, you follow these instructions entirely at your own risk (read the important notes at the end of this blog post). As and when others weigh in with their own advice – or contradict mine – I will publish their notes under ‘Comments’.
Click here for a printer-friendly version of this article, with more pictures and funnier captions (well, more pictures).
Making a honey warming cabinet from a refrigerator – materials list
I used the following (prices correct in 2012):
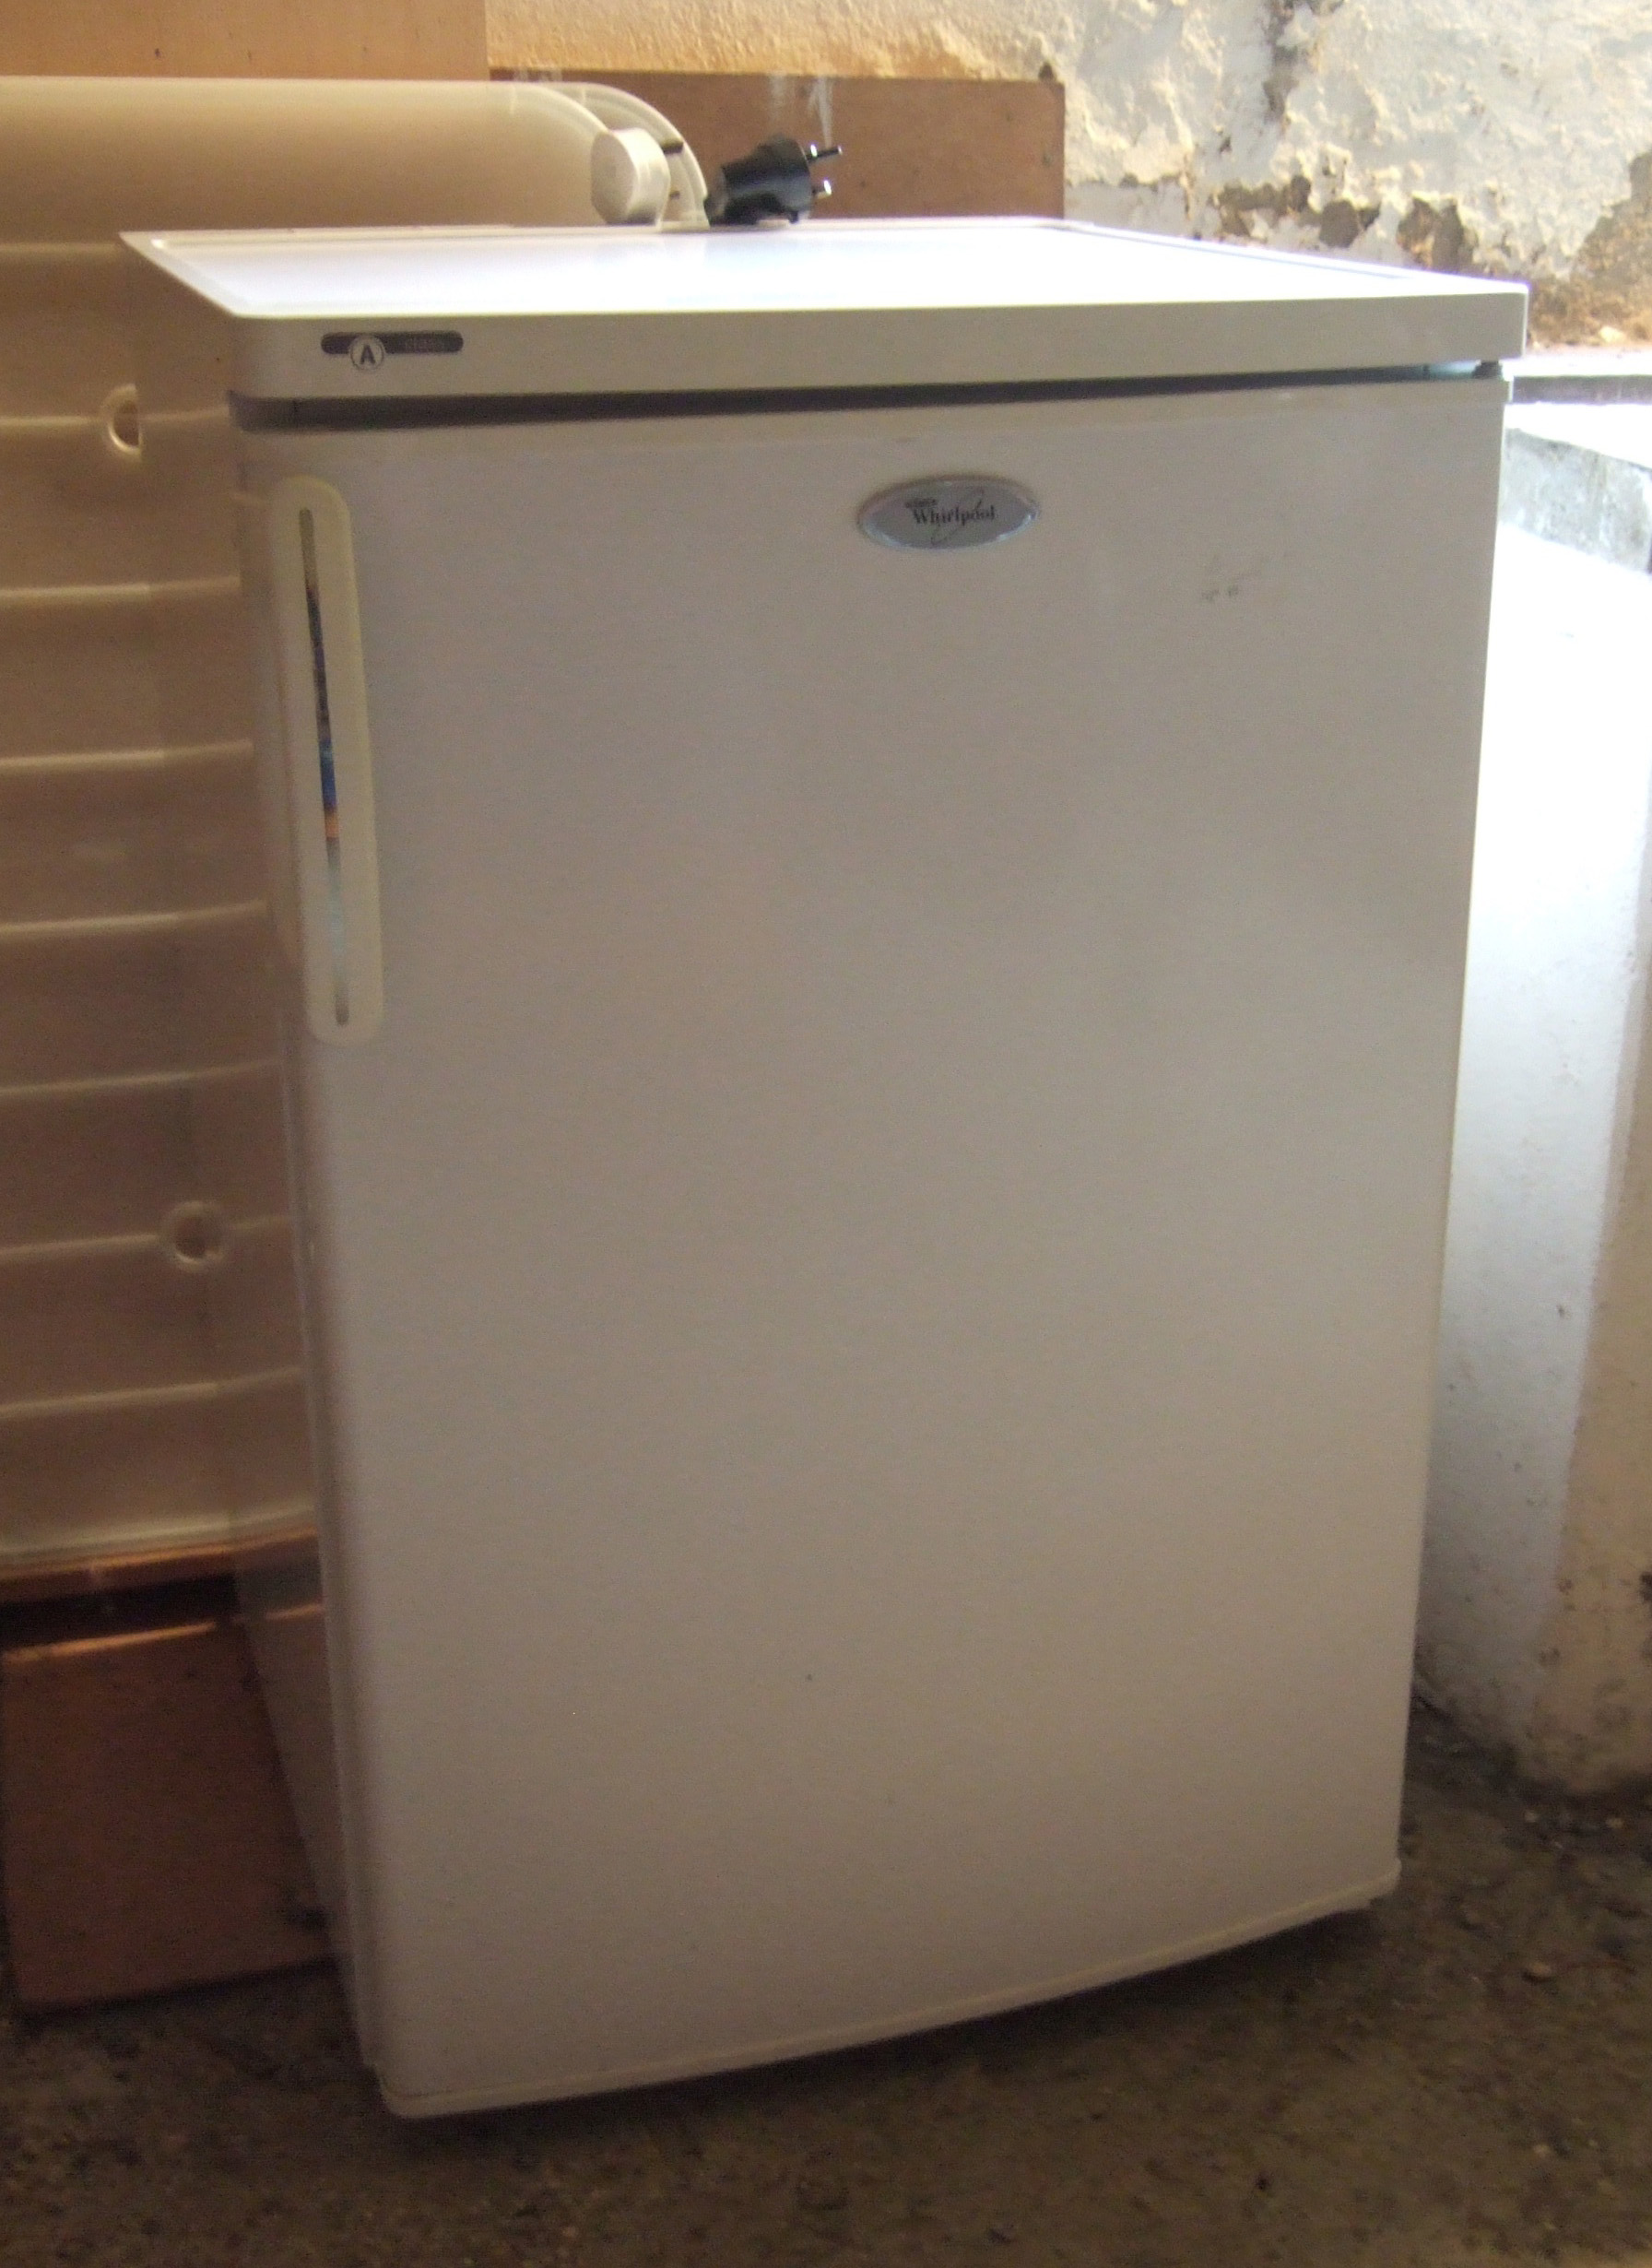
- Whirlpool fridge model ARC 0460 – free
- 5m 3-core 0.75mm2 round (electrical) flex cable; Homebase product code 386688 – £10.99
(or just buy the 3m you actually need for £1.49 a metre from Maplins, I later found out) - 13 amp fused plug – free (attached to fridge)
- 2x 100W BC daylight bayonet fitting light bulbs JD024T3 – £2.50 each
(Possibly a bit over the top. You can achieve the same result with two 60W bulbs from Toolstation, price 98p each …I found out later) - 2x light fittings to suit above; batten holder T2 straight; Toolstation product code 46677 – £1.05 each
- Corgi PCS Dual Pipe/Cylinder Thermostat; Toolstation product code 68281 – £8.98
- DC Brushless fan (as used to cool PCs); size 60 x 60 x 25mm; Maplin product code ZT88 – £7.99 (or pinch one from an old PC. See ‘Wiring the thermostat, fan and light fittings’ below)
- Power Pax UK 12V DC 500mA UK PSU (transformer); 2.1 x 5.5 x 12mm output connector, Maplin product code N93JU – £9.99
- Electrical connector block – free (lying around garage)
- Mastic – free (as above)
- Electrical and gaffer tape – free (as above)
- 1 inch wood screws – free (as above)
Total cost: £45.05 (or less, prices correct 2012)
Step-by-step guide to building a honey warming cabinet out of an old fridge
These instructions are for converting an old fridge into a honey warming cabinet using a pair of 100 watt light bulbs as a heat source, a thermostat to regulate the temperature, and a PC cooling fan to circulate the air and avoid localised hot spots. Wiring is based on UK (United Kingdom) protocols.
Finding a suitable old fridge
Refrigerators contain pollutants, and must therefore be disposed of responsibly, often via local recycling centres. These usually don’t take kindly to you skipping up and helping yourself. So how do you get hold of one? Well, I turned to my local independent electrical retailer [www.goddardselectrical.co.uk] Goddards Electrical of Saffron Walden. I guessed correctly that they receive a steady supply of old fridges and freezers from customers buying new ones, and as it turned out were only too happy to throw one in my direction. For several weeks I haunted their yard, searching for a small fridge with no icebox and as much internal space as possible.

Old, old fridges still contain CFC gasses, which are highly damaging to the environment. Newer fridges use Isobutane (R600a), which has negligible ozone depletion potential – but is explosive if mishandled! Goddards told me to look out for one with ‘R600a’ printed on the little sticker on the black tank at the back (the compressor). Eventually I found a Whirlpool fridge, model ARC 0460, that fit the bill perfectly.
Prepping and drilling
The next challenge involved trying to establish how much of the fridge’s internal workings to keep. Was it safe, for example, to drill holes through the sides and back? And how should one attach light bulbs and the thermostat to the internal walls?

Home brewing forums supplied the first answer. They use old fridges for – well I’m not entirely sure what exactly – but it seemed to involve drilling large holes through the side walls, so I was able to determine that if your fridge has a grill (called a condenser) on the back it’s probably safe to drill through the sides because you’re unlikely to encounter any pipe work. That said, this only really matters if you’re keeping said condenser and attached compressor. I actually completed the conversion of my fridge before deciding to remove both after reading on Wikipedia about the highly flammable, and potentially explosive, qualities of Isobutane [http://en.wikipedia.org/wiki/Isobutane]. Sparks from sawing the pipe work could ignite the gas, so a refrigeration engineer advised me to use metal snips to cut the pipes, and to do so outside. The small amount of gas thus released was relatively harmless to the atmosphere. The rest of it just unscrewed. He also pointed out that the compressor contained oil, so it had to be disposed of carefully at my local recycling centre.
As far as attaching things to internal walls was concerned, none weighed that much, so I found that wood screws worked perfectly well.
Fixing the component parts in place
In an ideal world the internal dimensions of the fridge would have allowed me to pack it to the gunnels with 30lb buckets, with just a few inches to spare for the heat source and thermostat. Although my fridge had a commendably voluminous interior, neatly parking 30lb buckets in it in such a way that the light bulbs wouldn’t be touching them, heat could circulate freely around them, and honey wouldn’t spill out of them, proved about as easy as - well, storing a turkey at Christmas. In the end I decided that warming two 30lb buckets at once would be more than sufficient. Which, given that in nearly three years of beekeeping I’ve only managed to produce two-and-a-half buckets of honey in total, probably wasn’t too unambitious.
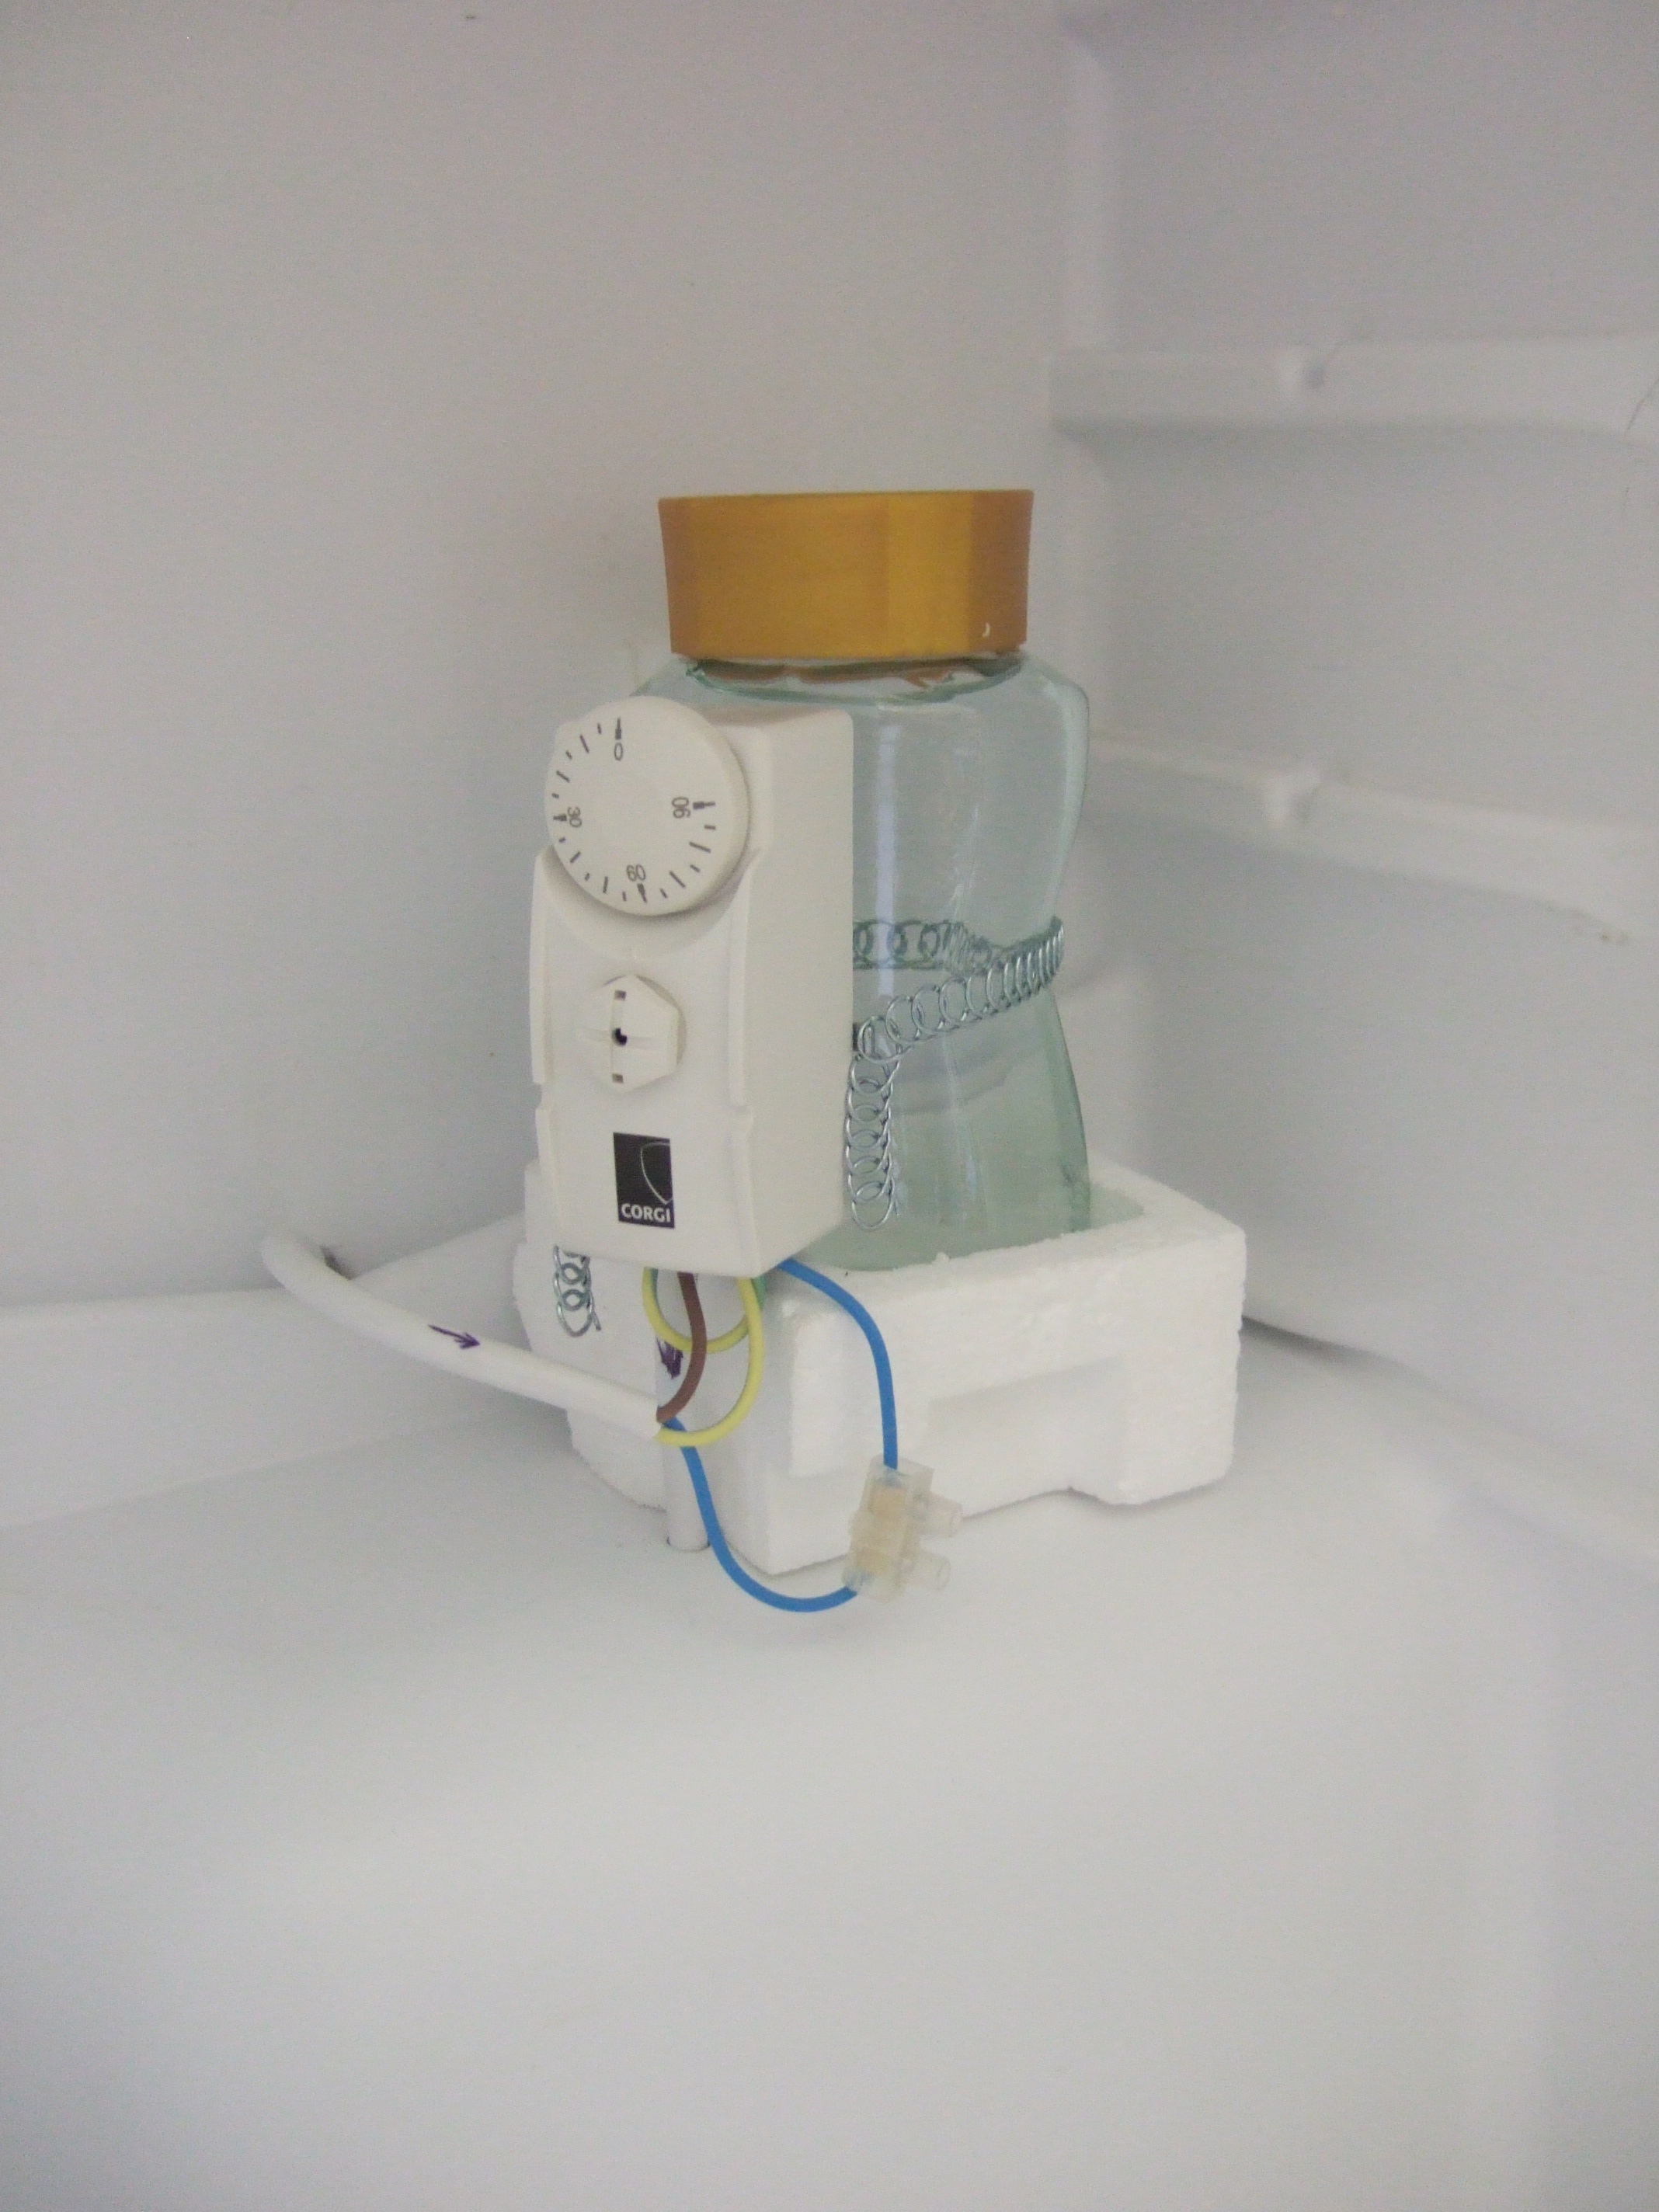
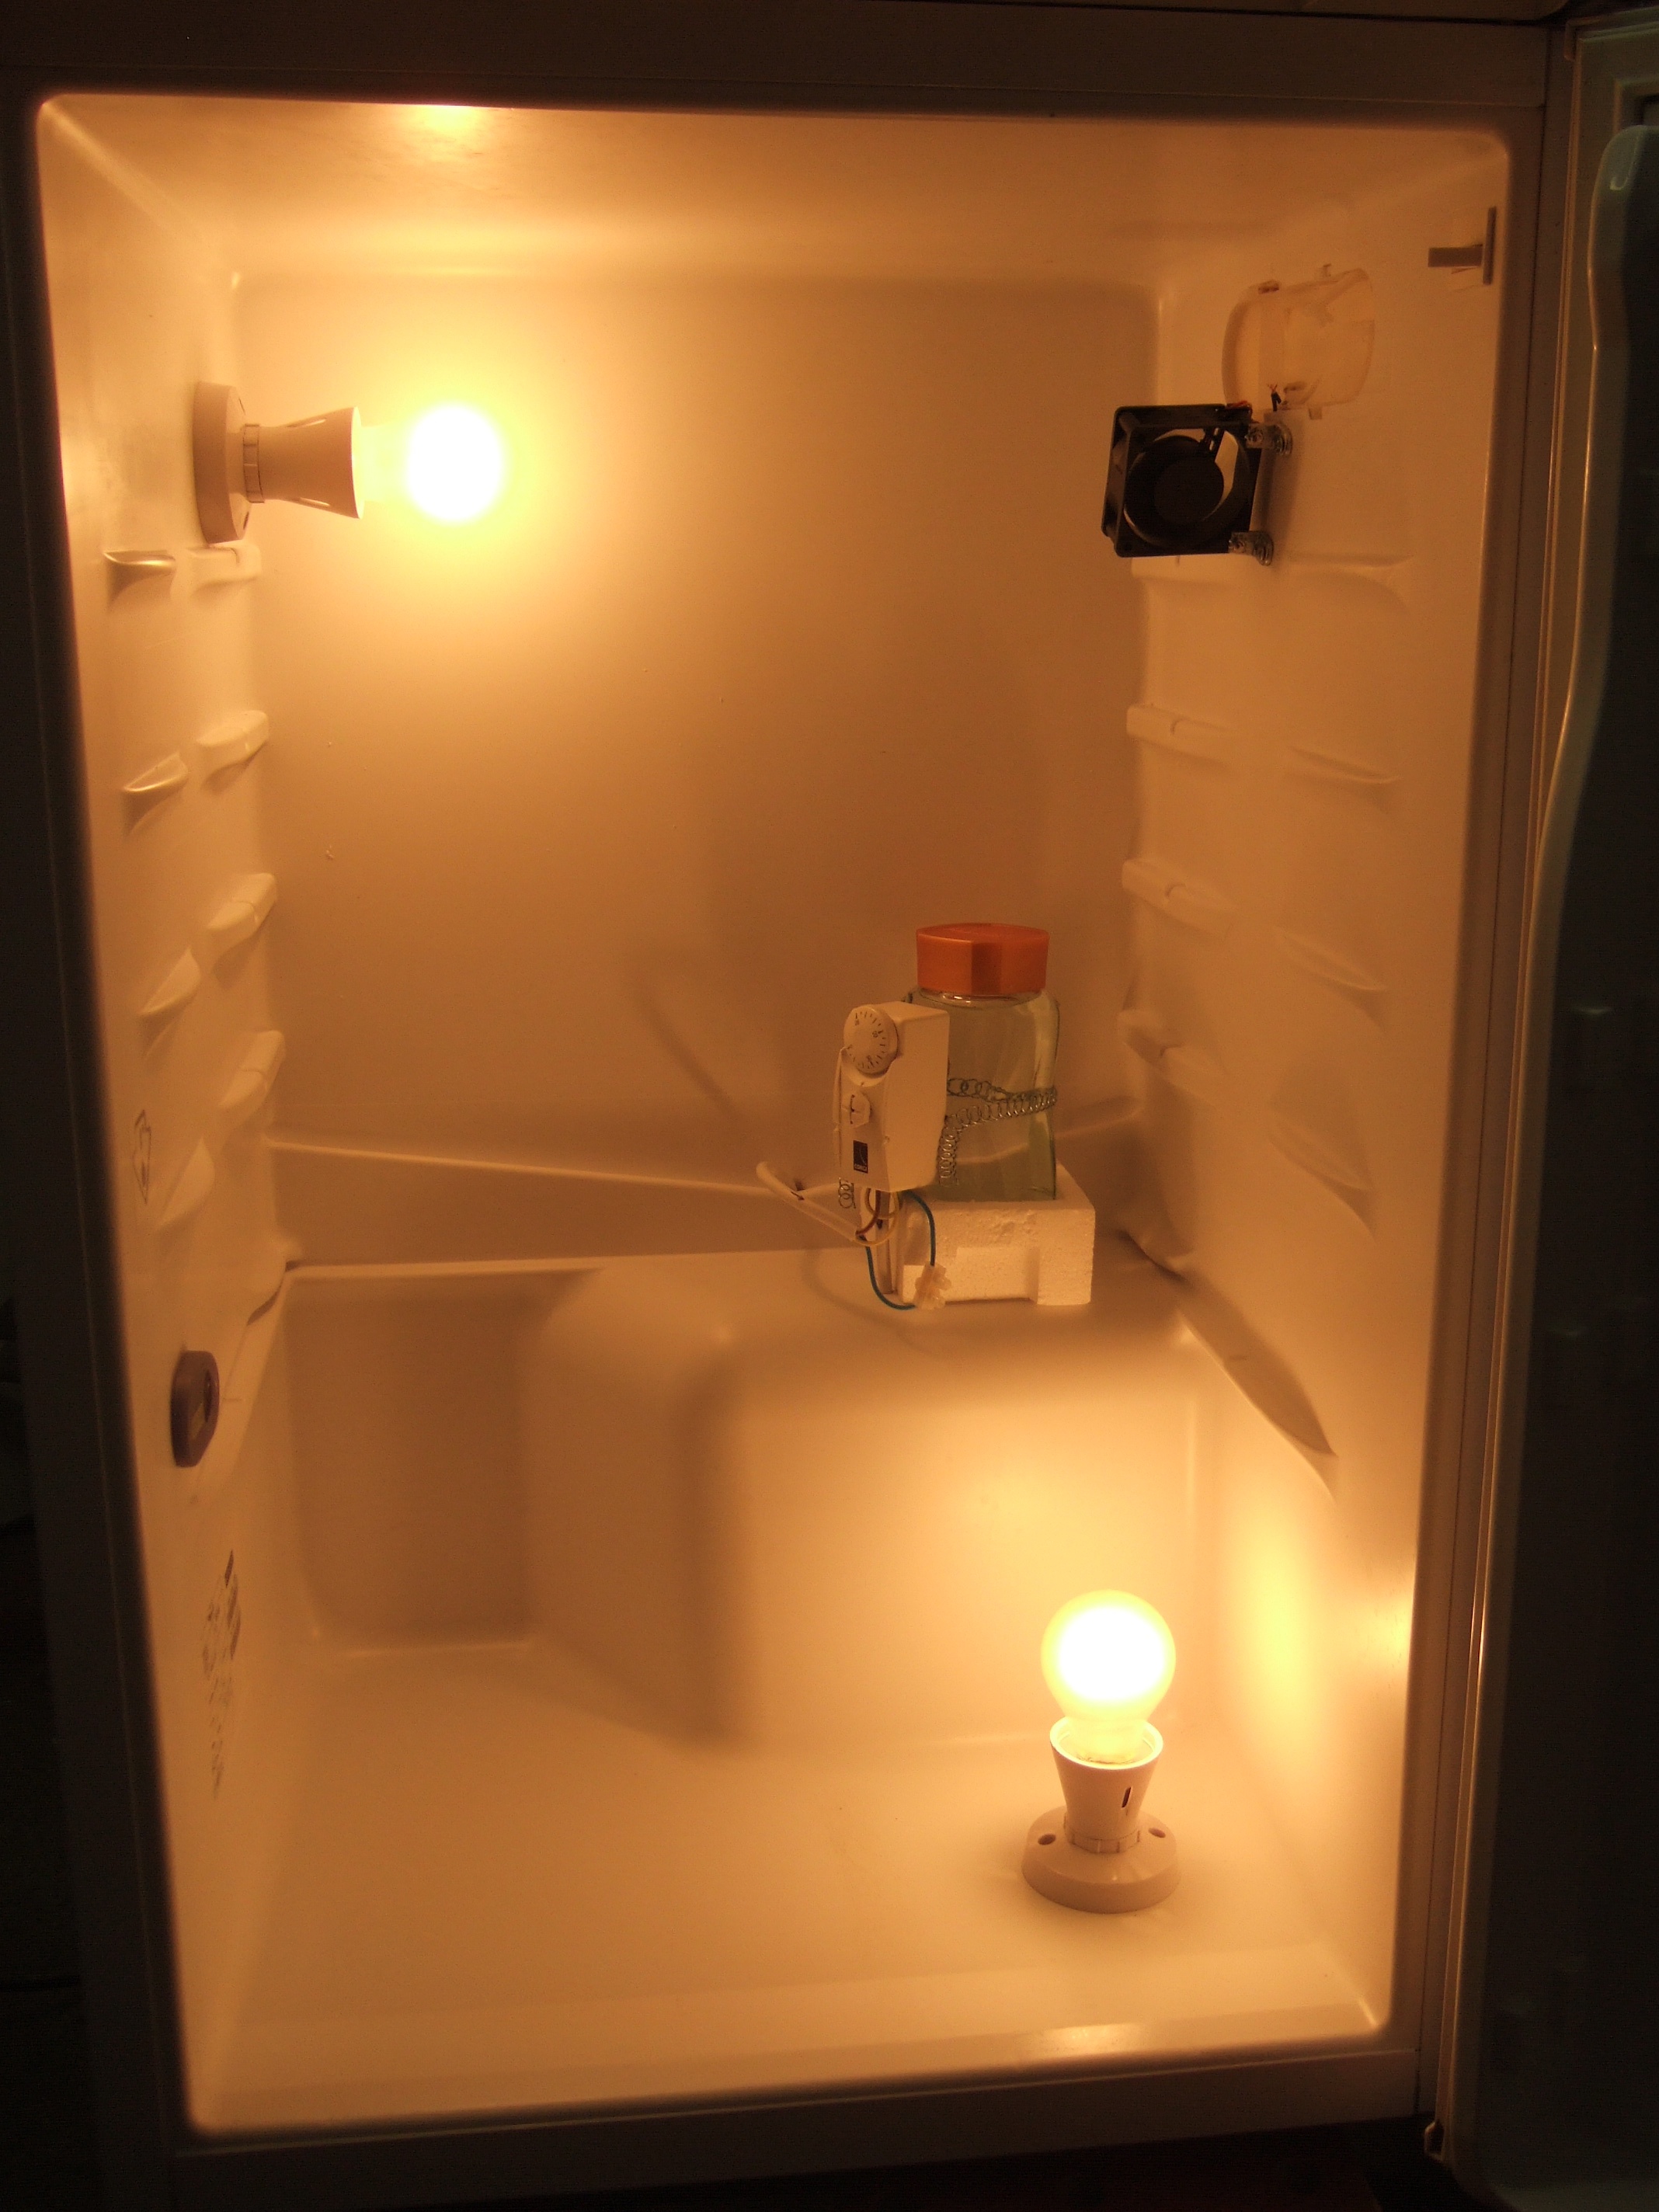
That decision made, it was relatively easy to work out where best to place the two light fittings, thermostat, heat sink, and fan (see picture). I placed one light fitting on the floor away from where the buckets would stand, and the other on the wall above and to one side, with the fan high on the wall opposite, pointing down slightly to circulate the warm air. All reference sources agreed that the thermostat should be positioned centrally to more accurately measure the temperature. It also needed to be attached to a heat sink.
At this point I should flag my indebtedness to 'Steve' (not necessarily his real name, although it is), a fellow EBKA member who a paid a heavy price for striking up a casual conversation with me at this year's Essex County Show and letting slip that he’d already converted a fridge into a warming cabinet. His subsequent, and very detailed, written instructions not only bridged huge gaps in my own research, but also included the names of parts suppliers, catalogue numbers and prices.

It was Steve who pointed out the need for a heat sink, and who suggested that an empty coffee jar filled with water would serve perfectly. I fashioned a jar holder out of cast-off polystyrene, and attached it with a long bolt to the raised block behind where the compressor would normally sit.
The fan was a standard 9 volt 60mm x 60mm PC cooling fan bought from Maplin, although in the unlikely and frankly bizarre circumstances of my ever building another honey warming cabinet I’d pinch one from an old PC. The problem was that – again – everyone advised me to use a PC fan, but no-one explained how to attach it to the fridge or how to wire it.

Attaching it to the one of side walls actually turned out to be surprisingly easy, using two thin bolts and a couple of tiny IKEA shelf brackets (see picture). A very helpful assistant at Maplin then told me how to wire it and which transformer type to connect to.
Wiring the thermostat, fan and light fittings
PC fans tend to have three wires attached to a tiny plug. Transformers tend to be moulded into a three point plug at one end, from which two wires, encased in plastic and fused together, emerge and attach to another – mismatching – type of plug. (I’m not going to pretend that I know the correct name for either plug type, and it doesn’t really matter). Cut the little plugs from the ends of both the fan and transformer wires. Examine the transformer wires closely and you’ll see that one side of the plastic casing has white dashes painted on it. The fan wires are coloured red, black and yellow. Attach the white dashed wire from the transformer to the black wire on the fan, and the red wire from the fan to the other wire on the transformer. Don’t attach the yellow wire from the fan to anything. Test that it works by plugging the transformer into the mains.

You’d think that a thermostat would come with a wiring diagram that spelled out which colour wire is attached to what terminal, and how this in turn is connected to the heat source. Think again.

Mine came with an ambiguous drawing of a straight line, punctuated at three points with the cryptic labels ‘Common, ‘Demand’ and ‘Satisfied’, and interrupted by a little squiggle that was meant to represent a switch. Nor could I find much help online. How you wire up a thermostat varies depending on the thermostat, apparently. Best guesses and trial and error resulted in me blowing the fuse in my garage several times. Understandably deterred, I then went over to Deryck Johnson’s house and blew the fuse in his too. My best advice to you therefore is to buy the same make and model thermostat I used, and to wire it exactly as shown in this wiring diagram, which does label and colour-code all the wires. (You do so entirely at your own risk however. Always use an RCD device when connecting to mains electricity). I eventually got the answers from Steve, to whom I shall remain eternally grateful, and without whose help I would now more than likely just be a wispy lump of charcoal hanging by two threads from an electrical socket.
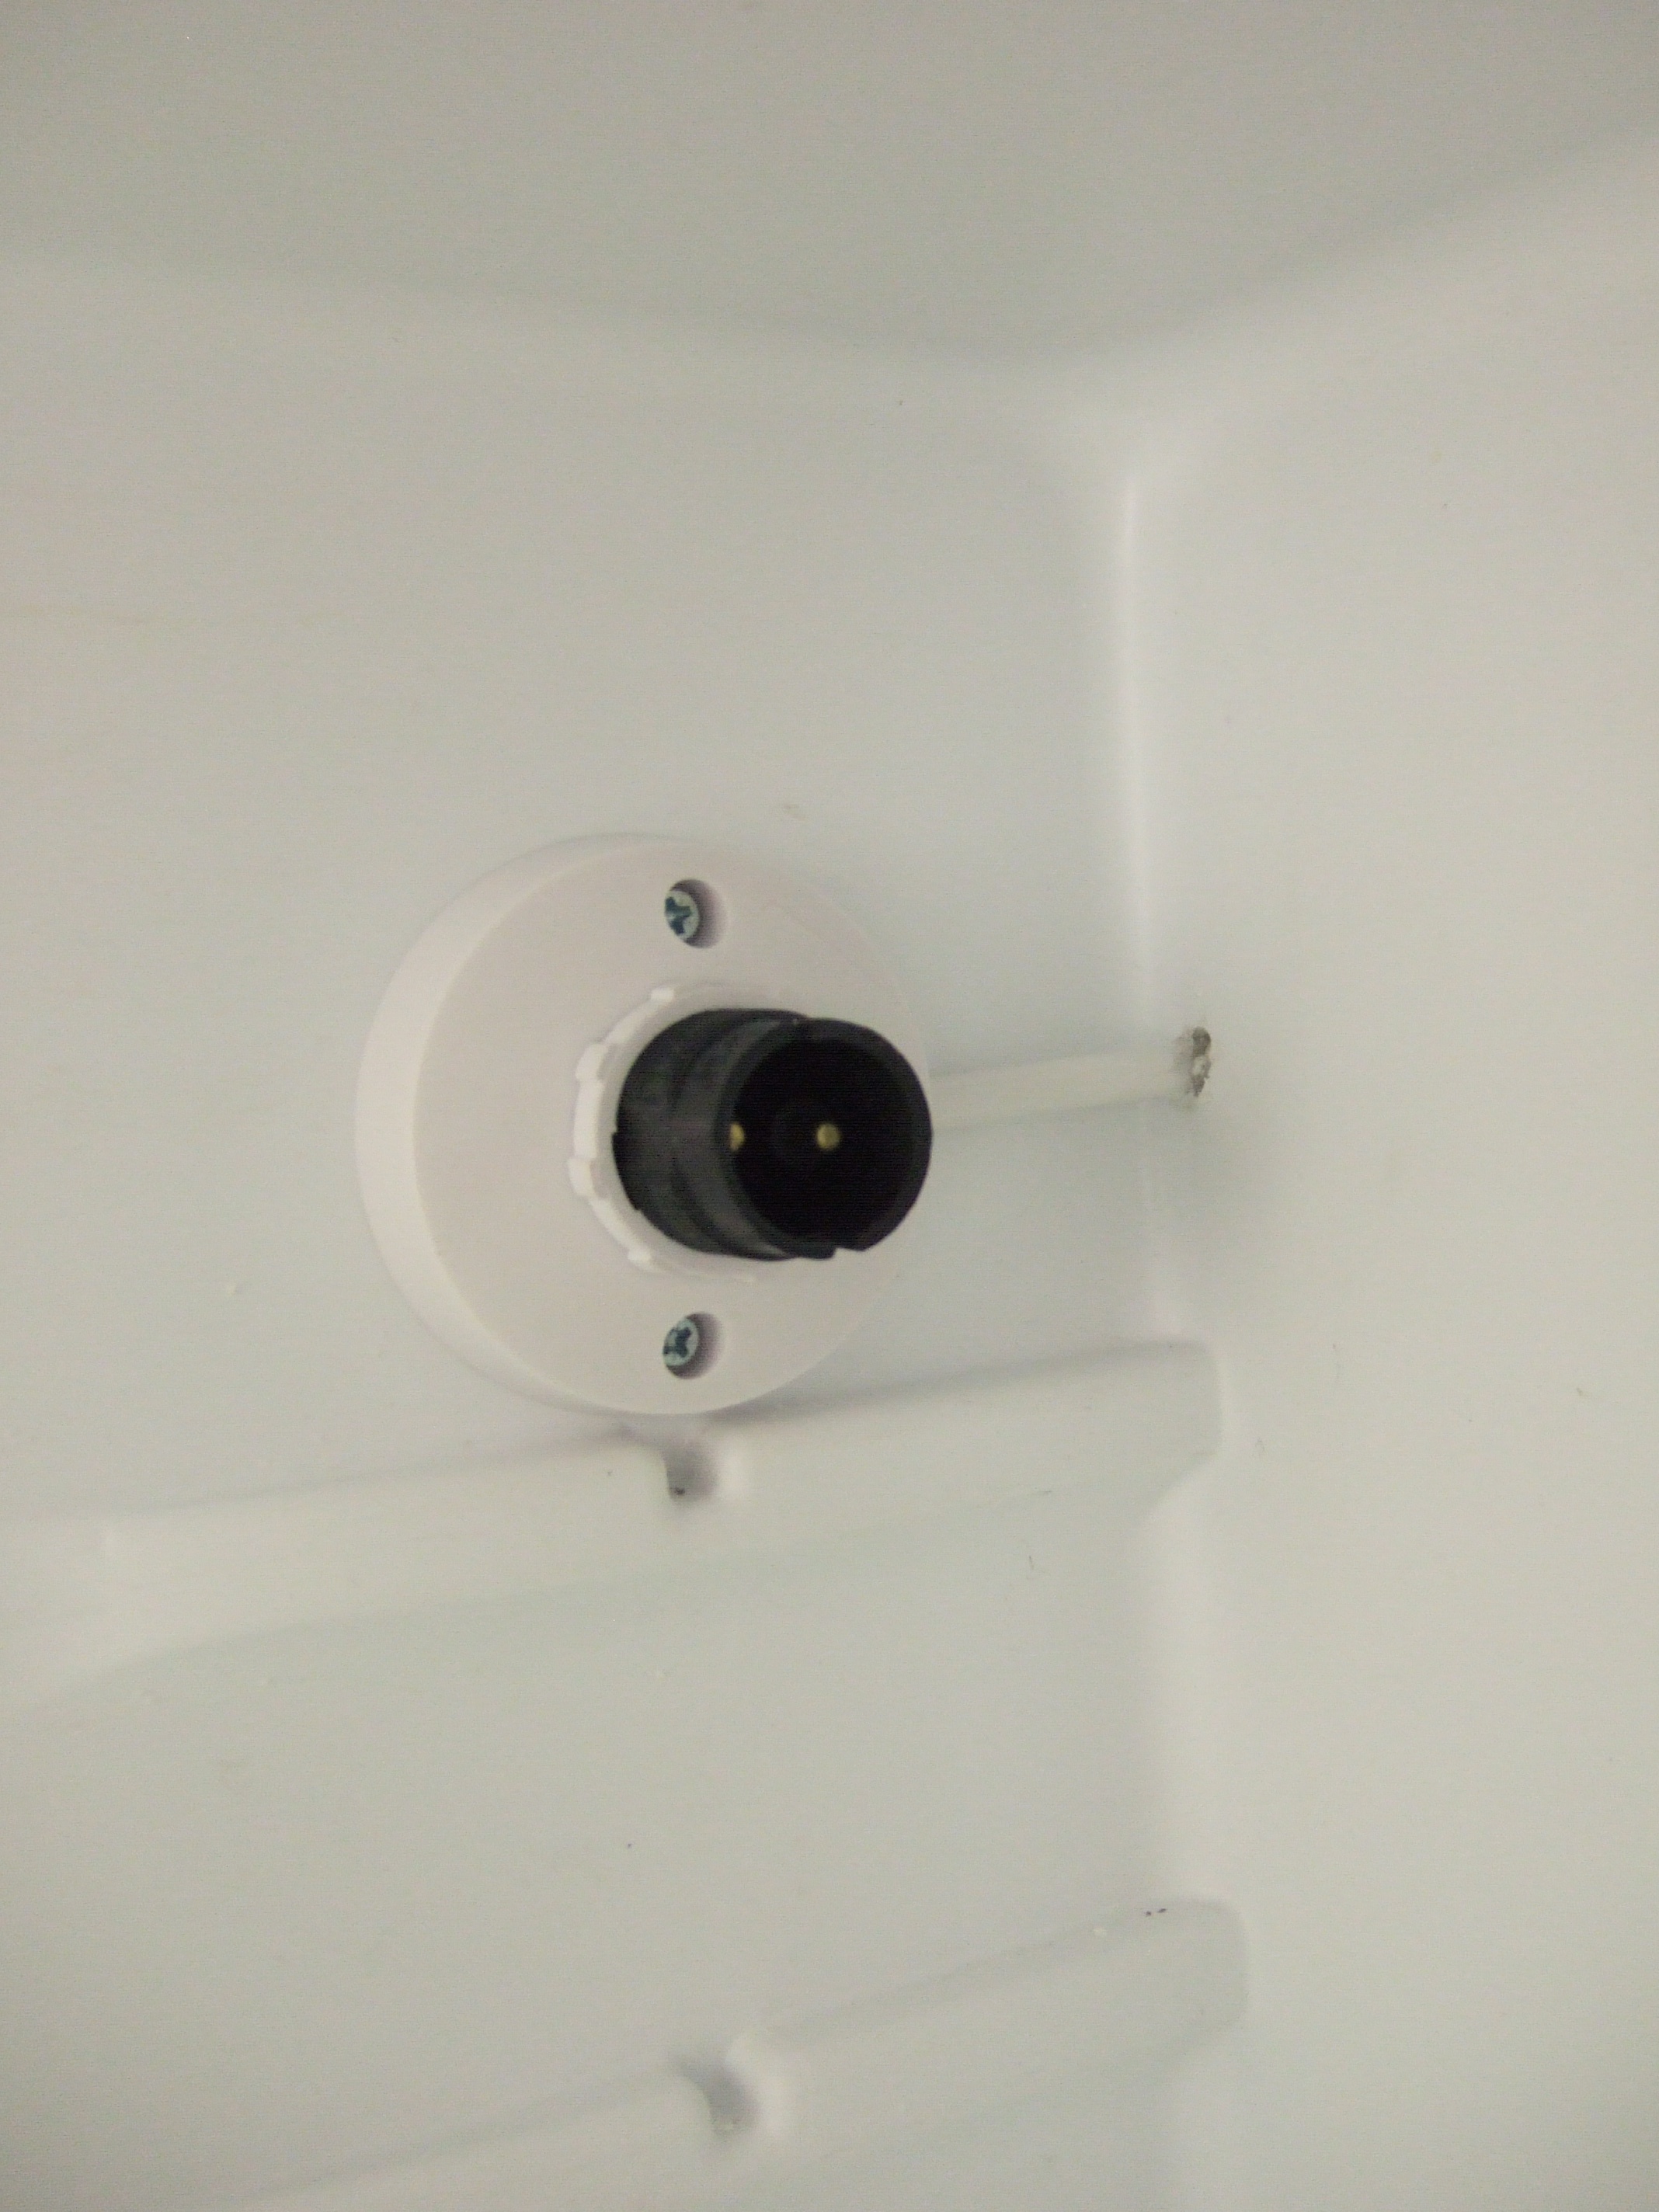
Wiring the light fittings was one of the few things I could manage completely unaided. There are three terminals, one of which is clearly labelled ‘earth’. Attach the green and yellow wire to the earth terminal and then the blue and brown wires to each of the other two. It doesn’t matter which way round you do it. I mounted the two light fittings ‘in parallel’, the other way of doing it being ‘in series’. The only difference is that ‘in parallel’ both receive power directly from source, whereas ‘in series’ the power flows through one light fitting before going on to the other. I used a connector block to connect the wires from the thermostat to the light fittings.
Initially I used old-style bayonet fitting 60 watt light bulbs to supply the heat, but I wasn’t convinced that they were powerful enough, so replaced them with (much more expensive, and harder to find) 100 watt bulbs. Indeed, 100 watt bayonet fitting light bulbs proved so hard to find (because EU legislation is in the process of outlawing them) that I had to resort to ‘daylight’ bulbs at £2.50 a piece.
Calibrating the thermostat
The only thing left to do after all this was to calibrate the thermostat. It came with a temperature dial on the front, but I presumed that it may not be that accurate. Using a garden thermometer that records highs and lows I therefore set the thermostat to first 30, then 40, and finally 50 degrees Celsius (oC) and recorded the actual ‘on’ and ‘off’ temperatures inside the fridge. From that I established that 50oC on the dial equated to an actual temperature range of 46-54oC.
The big roll-out
You know you’re being indulged when your enthusiasm for having achieved something obscure is matched by family and friends not even remotely involved in the process. Of course it’s perfectly possible that they were all just relieved to be finally getting their hands on some honey, having been promised it for two years. Nevertheless, while even they could then only muster polite interest in my subsequent dissertation on the journey their honey had undertaken, all agreed that it looked good and had retained its original flavour.
Long before I’d finished I began to think about honey jar labelling. Now I run (among other things) a studio with full design facilities, so I wanted to know what the precise food labelling regulations are regarding label dimensions, font type, letter size and width.
“It’s all available online,” I was told.
Yeah. About that…
View and print the thermostat wiring diagram
Important: As ‘hilarious’ as these instructions may be this next bit is deadly serious and you should read it carefully, because if it ever comes to it, it is what I will read out in court.
Electricity is dangerous. Hot light bulbs are dangerous. A combination of electricity, hot light bulbs and liquids is potentially fatal. Fridges are not designed to have done to them what is described here. I'm not an electrician. I'm not a refrigerator technician. I'm not even a very good beekeeper. I have no qualifications that have any bearing upon what is described here. You are therefore strongly urged to check absolutely everything written in this blog post with a qualified individual – and to follow their advice over mine. I am not offering advice. I have simply described what I did. I make no claim whatsoever that it was safe, legal, clever or effective.
You should never connect any electrical appliance to mains electricity without using a residual current device (RCD). You should never leave a home-made electrical appliance unattended. You should always consult a qualified electrician before connecting anything to mains electricity. Goddards of Saffron Walden played no part in this undertaking beyond supplying me with a fridge and advising me on how to dispose of it responsibly. ‘Steve’ never claimed to be an expert and was completely unaware that I might use his notes as I have. He did not approve this blog post and had absolutely no say or involvement in its drafting or publication. You have been warned.